Oh my, one of the most exciting part of being a beauty blogger is when you discover a product that’s new in the market and such an ease to LOVE.
The recent Girls Day Out event by Watsons introduced me to the new GelLack Start Kit. In short, it’s a kit to make your very own Gelish Nails at HOME!
Yes, SALON-GRADE manicures that last for weeks!! The same ones that:
– last 2-3 weeks
– dries IMMEDIATELY after the last step
– allow you to paint over your gel nails with regular nail polish and remove it afterwards without having the gel nails affected!!
Whattttttttt….. you say? I know. I’m very impressed!
Most gel nail application requires the surface to be buffed first, resulting in thinning and brittleness of the nails. However, GelLack doesn’t require buffing, as curing the polish under the LED lamp smoothens it out to achieve a shiny, ridgeless look (also good news for people who cannot paint nails very evenly with their non-dominant hand). Since it is equipped with an LED lamp and not a UV lamp, the curing and drying process is quicker (30 seconds) and kinder to the nails.
It’s unbelievably easy to execute. Let me show you!
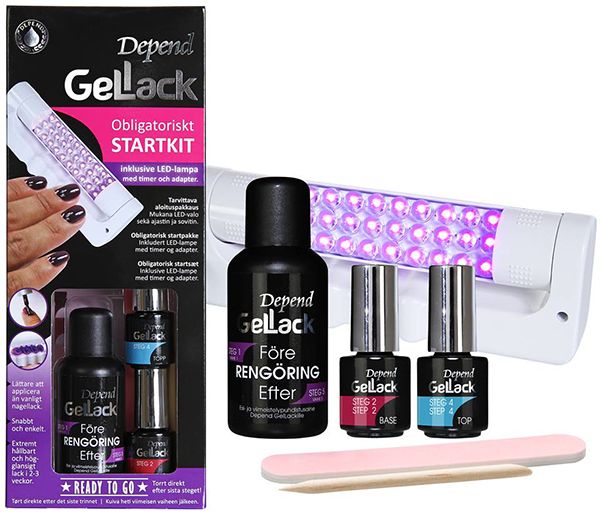
In the GelLack Start Kit ($99.90), you get:
– 1 LED Lamp
– 1 GelLack Remover Oil
– 1 GelLack Base Coat 5ml
– 1 GelLack Top Coat 5ml
– 1 Before/After Cleanser 35ml
– 1 Orange stick
– 1 Nail file
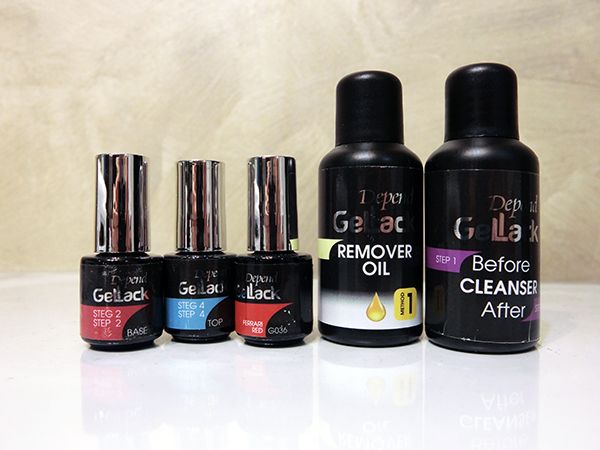

Each GelLack Nail Colour is available at $13.50 each (available in 30 beautiful shades). I received the red colour to review. :)

Instructions:
Step 1: Apply Depend GelLack Before/After Cleanser on a cotton wool ball and clean your nails
carefully. Allow the nails to dry for about 30 seconds.
Step 2: Apply a thin layer of Depend GelLack BASE. Harden for 30 seconds under the LED lamp.
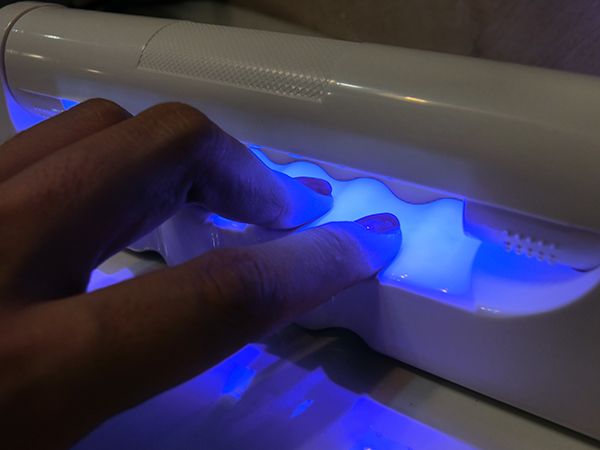
Step 3: Apply a thin coat of Depend GelLack colour. Harden for 30 seconds under the LED lamp. Apply another thin layer of Depend GelLack colour and harden for 30 seconds under the LED lamp.
Step 4: Apply a thin layer of Depend GelLack TOP and harden for 30 seconds under the LED lamp.
Step 5: Now the surface of the nail will still be slightly sticky. Apply Depend GelLack Before/After Cleanser on a cotton wool ball and clean the top finish to bring out the gorgeous sheen of the GelLack.
It’s so easy to use can!?
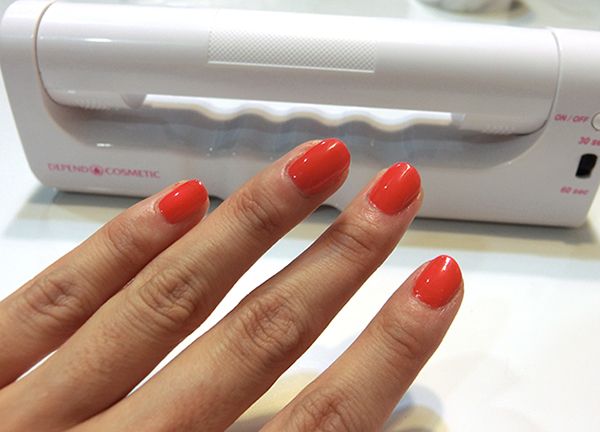
Look at how smooth each coat of nail colour is and the high shine. Gosh! So much to love about this product!!
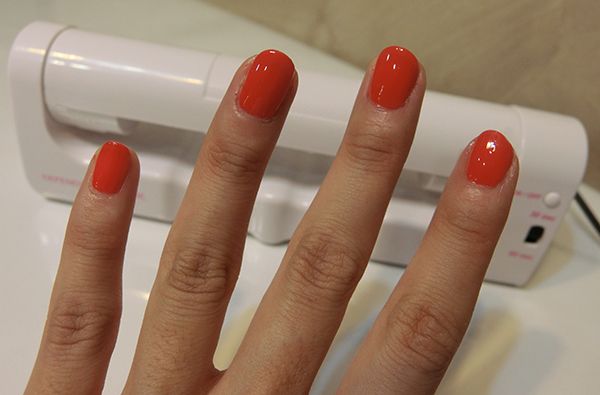
SO LOVE!!! It took about 30-45mins to get this all done and I was all ready to go do other stuff immediately! I loveeeeeee nails that dry instantly!!!
To remove? The removal process is the key highlight of GelLack’s system, as it requires only GelLack’s Remover Oil and warm water.
Instructions:
Step 1: Massage GelLack Removal Oil onto the nails.
Step 2: Dip your nails into warm water that is about 40°C.
Step 3: Take an orange stick or simply use your nails to peel off the nail polish.
Most (if not all) gel nail removal requires an acetone soak, which dehydrates the nails. The remaining polish is literally scraped and buffed off, which usually leads to damaged, brittle nails. However, GelLack only requires you to massage the oil into the nails, after which you place the nails in warm water (about 40 degrees) for about 3 minutes and the nail polish can be peeled off with your fingers or with a cuticle stick, causing no damage to the surface.
I haven’t tried it myself but I’ve seen a live demo of it! The whole piece of nail colour comes off. Amazing. See a video of it here.
With GelLack, nails are protected and the natural nail quality is improved as there is no need to file the nail surface before applying the product – ensuring minimal or no risks in damaging the natural nails and promoting the growth of strong and thick nails.
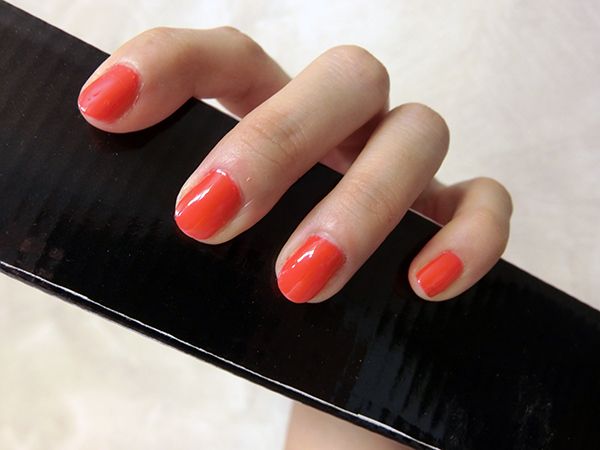
What’s there not to LOVE about this revolutionary new product?! I need more GelLack nail colourS!!!
**
GelLack Obligatory Start Kit, GelLack Colour and GelLack Removal Oil will be exclusively available at Watsons from April 2015 onwards.
More information on their Facebook Page.